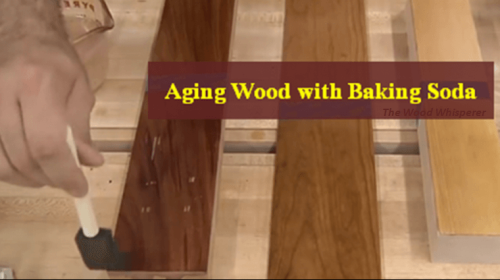
Age Wood with Baking Soda
Aging wood is necessary if you want a distressed style for a project, but you only have access to newer wood. Aging wood with baking soda leaches the dark tannins away. The result is a partially bleached, weatherworn look, similar to a barn or driftwood.
Contents
Steps
Choosing the Wood
- Choose a wood that contains tannins. This includes cedar, pine, red oak, redwood and mahogany. Tannin is an acidic compound found in plants, including trees.
- Woods that are harder and darker have more tannin. Soaking dark woods in water or weathering them will leach the tannins from the surface, lightening the surface of the wood.
- Look for wood that contains flaws. Unless your project requires extremely uniform look, you can search for cast-off wood that is cheaper. The aging process will make beauty of the wood’s imperfections.
- If you want to use wood that is pristine, you can beat it up with tools, such as a bag of screws or hammer. Hit it repeatedly or drag the sharp ends across the wood’s surface.
- Choose wood that has not yet been finished. The baking soda aging method will work best on untreated wood or, at least, wood that has not yet been varnished.
- Strip and sand wood if it has been finished. For wood that has been previously painted once, you may be able to sand off the top layer. For wood that has been painted more than once, you may want to try a chemical stripper.
- Wear safety goggles, long-sleeved work clothes and gloves when you use a sander or chemical stripper.
- Work in a ventilated area, such as an open shop or garage.
- The care you take with the stripping or sanding the wood should depend upon the look you want to achieve. If you want your project to look older and more distressed, you can leave some paint on portions of the wood.
Aging the Wood
- Put your work table or sawhorse in the sun. Exposing the wood to direct sunlight during the aging process will speed up the leaching process.
- Place your wood on your sawhorse. Try to expose the entire top surface of the wood, including the sides, if you want them exposed. You can always repeat the process on the other side of the wood.
- Mix a solution of 1 part baking soda to 1 part water. The amount you mix will depend upon the size of your project. You will want to liberally apply it to your wood.
- Stir it well, and then apply it with a paintbrush. Make sure it is covered with a thick layer of baking soda and water.
- Let it sit in the sun all day. If possible, let it sit for 6 hours, so that it has a chance to leach the tannins from the wood.
- If you do not have access to direct sunlight or 6 hours to spare, spray the surface of the wood with vinegar after you have applied the baking soda. Let it sit for 10 minutes.
- Brush the surface of the wood with a wire brush. Tannins, extra finish and part of the wood may come off with the brush.
- Rinse the wood with water and pat it dry. Repeat the process the next day, if there is too much color in the wood.
Finishing the Wood
- Apply a stain to help finish the wood. Apply it with a paintbrush. Then, keep a wet cloth nearby to remove excess stain.
- For an even lighter look, you can wet the wood lightly, apply the stain and wipe off a portion of the stain.
- Use furniture wax to protect the finish. This will give off a light sheen, but it will not be as shiny as varnish. A shiny finish may ruin the distressed look of the wood.
- Add 1 to 2 coats of the furniture wax with a soft cloth and let it sit overnight before using. If you are going to use the wood for a project, you should wait until the project is completed to apply the furniture wax.
Things You'll Need
- Wood
- Chemical stripper
- Sander
- Tack cloths
- Safety goggles
- Paint brushes
- Gloves
- Work clothes
- Baking soda
- Vinegar
- Wire brush
- Spray bottle
- Hose
- Cloths
- Furniture wax
Related Articles
- Bleach Wood
- Age Wood With Vinegar and Steel Wool
- Age Wooden Furniture
- Age Wood Floors
