My Minecraft journey lesson five: It's more than just a game!
Contents
- 1 Description
- 2 Module 1: Default Title
- 3 Module 2: Default Title 1
- 4 Module 3: Demonstration of Learning
- 5 Module 4: Minecraft: Education Edition In-Game Assessment Tools
- 6 Module 5: Tools for Students
- 7 Module 6: NPCs and 3D Export
- 8 Module 7: Learn To Use New Tools
- 9 Module 8: Give it a Try!
- 10 Module 9: Reflect & Share
- 11 Module 10: Questions to Consider
- 12 Module 11: Next Steps
- 13 Source
Description
In this lesson, participants learn about tools specific to Minecraft: Education Edition and how those tools can be used to assess student learning. They explore the following features: Book and Quill, Photos and Portfolio, Slates and Chalkboards, NPC, and 3D Export.
Lesson-Framing Question
How can I use tools in Minecraft: Education Edition to see what students are actually learning?
Lesson Objectives
- Participants explore examples of how Minecraft: Education Edition tools can be used to assess and facilitate student learning.
- Participants use Minecraft: Education Edition tools, such as: book and quill, camera, and signs to build their own skills.
- Participants reflect on how to use Minecraft: Education Edition tools for student assessment.
Module 1: Default Title
Explore & Discover
Module 2: Default Title 1
“Minecraft is easy to use and implement in a classroom. It promotes student independence and creativity, but it is also an immensely collaborative tool that I have witnessed being integrated across all grade levels and content areas. Students can apply their understanding in truly unique and often unanticipated ways.”
— John Miller, Educator and Global Mentor
Module 3: Demonstration of Learning
Minecraft: Education Edition provides an interactive digital environment that allows students to create learning for all to see. With Minecraft: Education Edition, students can create within an engaging virtual world and demonstrate their learning of key concepts by using tools, such as the camera and portfolio, to capture progress and document learning adventures.
As the educator, you will need to decide the aspects of learning in Minecraft: Education Edition that you will want to assess. As with any good planning, the best place to start is with your learning goals, and then determine the ways to assess, which may be through discussion, writing, reflecting, administering tests, or using some of the in-game Minecraft: Education Edition tools.
Module 4: Minecraft: Education Edition In-Game Assessment Tools
Take a look at how some educators use the in-game tools in Minecraft: Education Edition to help with formative assessment. The following lessons show how some of the tools unique to Minecraft: Education Edition can be used to help assess student learning. Read through each of the following lesson overviews to see some examples. If you would like to dig deeper into any of the lessons, you may wish to follow the link to review the lesson in full and record any of the lessons that you may want to use or adapt with your students in your Course Notes. (Note: You will get hands-on experience with these tools later in the lesson.)
Module 5: Tools for Students
Photo and Portfolio
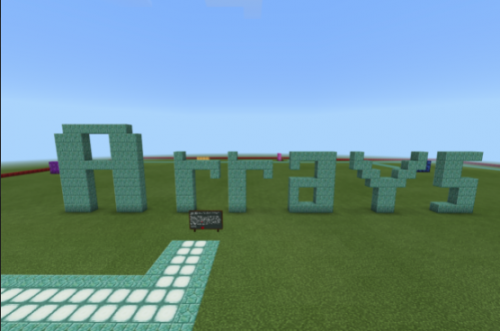
Using the efficient and colorful blocks in Minecraft: Education Edition, students create arrays to help solve single digit and double digit multiplication problems. A Non-Player Characters (NPC) gives students a camera and portfolio and tells them what is expected. Each time the student solves a problem, he/she takes a photo and types out the equation and answer in the portfolio. After all ten problems have been solved, the student can export their portfolio and send it to the teacher for review.
Book and Quill
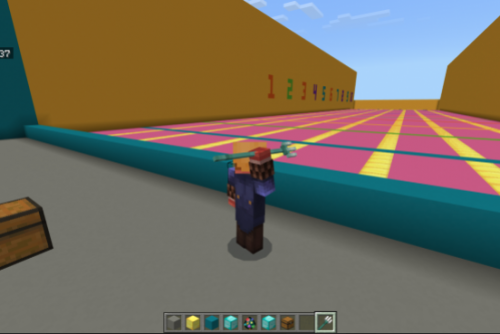
In this lesson, students answer the questions from the NPC, and a wall is removed revealing a javelin throwing game. The students find a chest with ten tridents and a book and quill to track their data. The student throws all ten tridents and tracks their measurements with fractions and mixed numbers in their book and quill.
Slate and Chalkboard
Replicating Landmarks (Social Studies)
In this lesson, students research and recreate a structure from history, such as a building, monument, castle, or bridge. Students use signs to title their landmarks and also provide feedback to each other.
Module 6: NPCs and 3D Export
NPC
Meet and Greet (Social Studies)
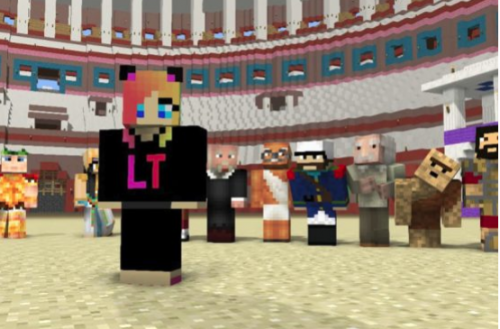
In this lesson, students choose a significant person from the past to add to a class timeline. They create an NPC that represents their historical figure to share the historical person's story.
3D Export
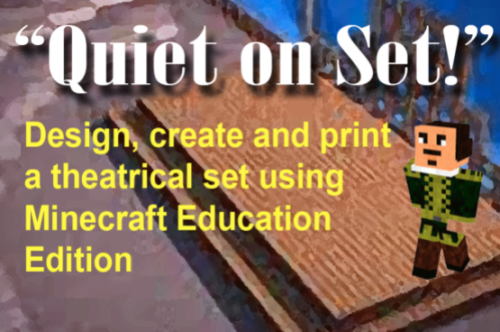
Students use Minecraft: Education Edition to make a stage set. They add a color scheme and all the features of a set, such as the stage/performance area, the seating/audience area, lighting, cameras, backdrops, and props. Students then use the structure block and export their 3D model.
Module 7: Learn To Use New Tools
You have seen some ways that particular tools in Minecraft: Education Edition can be used to assess student learning and allow students to express themselves creatively. Now take a look at some videos that show how to use the tools. As you watch the short videos, consider which of the tools you might like to try and record ideas in your Course Notes.
Book and Quill
The Book and Quill is used to document by typing, pasting in text, or importing a photo from a world. When the book is done, the book is titled and closed and the writable book becomes an enchanted book that can be exported into a zip file of the book
Camera
A camera can be used to take images from the game and exported them. Cameras can also be placed on the ground in the world and will take photos in a selfie mode. With the Camera in your hand, you can right click to take a 1st person snapshot of your screen, which will be saved into your Portfolio. You can also place the Camera into your world by right-click pointing at an existing block in your world. Once placed, right click the camera to activate it. A smoky timer will count down as the Camera blinks, and after five seconds, a picture will be taken. If you move around, the Camera will track you during this time. After one photo, the Camera will disappear and you’ll need to place a second one. Note that once you place a Camera, any player in the world can use it, so you should provide plenty if you want students to use them in a lesson.You can access those pictures in a portfolio.
Portfolio
With the Camera in your hand, you can right click to take a 1st person snapshot of your screen, which will be saved into your Portfolio. Once you take pictures, they show up in the Portfolio. When you have it equipped, right click to bring up a two-page book of your photos in chronological order. You can click to type a short caption below each picture if you like. To use the photos, press the “Export Portfolio” button. It creates a .zip file with all your photos as JPGs in your specified folder.
“How to caption, export and open a portfolio using Minecraft: Education Edition” video created by Jason Lane, Digital Pedagogy Leader.
Slate and Chalkboard
Chalkboards come in three sizes: slates, posters, and boards. Text can be added by typed or pasted. Boards can be locked or unlocked for other users to write on.
3D Export
Minecraft: Education Edition includes a structure block that allows users to capture and export their build as a 3D file, which is useful for documenting work such as showing the inside of a cell or building, and supports formative assessment.
NPC
NPCs are Non-Player Characters that can be used by educators or students to communicate information.
Module 8: Give it a Try!
Now that you have some familiarity with some of the tools unique to Minecraft: Education Edition, choose one (or more) of the Challenges to try. Each Challenge takes about 20 minutes.
Book & Quill
- Read the objective.
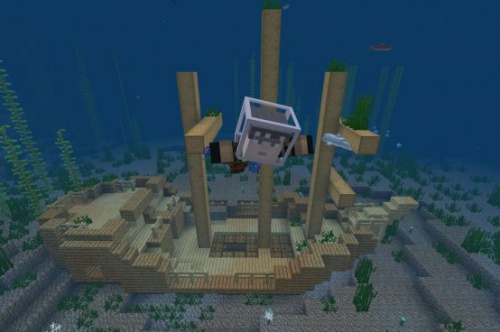
- Load the supplied shipwreck world.
- Observe the details and take notes on what you see.
- Use the Book and Quill to write a narrative about how this ship ended up in this condition. Who might have been on this ship? Where might the ship have been headed?
Camera and Portfolio
- Read the objective.
- Download the Challenge.
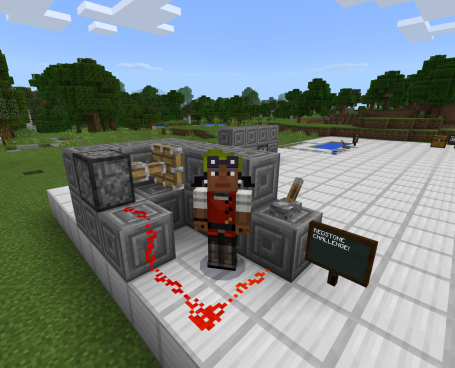
- Investigate cause and effect relationships. Explore and dissect the machines in this world then create your own project.
- Use the camera and portfolio to create an instruction manual for how your machine works.
3D
- Read the Objective.
- Download the Challenge.
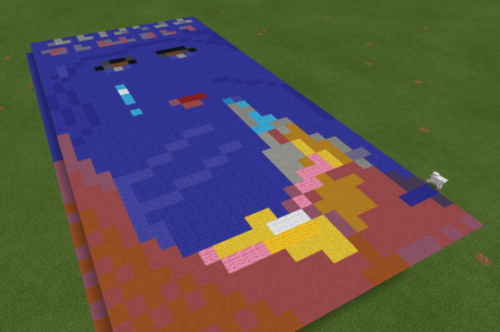
- Use the book themed world to create your own Minecraft book covers.
- Make it a 3D book cover using the structure block and export your file.
NPC
- Read the Objective.
- Download the Challenge.
- Create your own treehouse.
- Add an NPC to give a tour of your treehouse.
Slate and Chalkboard
- Read the Objective.
- Download the Challenge.
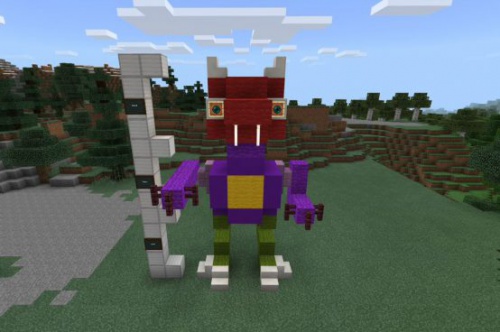
- Build a monster in Minecraft: Education Edition.
- Add signs to introduce the monster.
Reflect on your takeaways from this lesson. You have three lessons left, so record this reflection to look back on when you finish the course.
Feel free to share your reflection (and what you learned) via the My Minecraft Course Lesson 5 topic on Flipgrid or by tweeting it out using the #MinecraftEDU hashtag on Twitter.
Module 10: Questions to Consider
- Which of the tools resonated with you most? Why?
- How could you see using the tools in Minecraft: Education Edition for formative assessment?
- What questions do you still have about using Minecraft: Education Edition? What would you like to know more about?
Module 11: Next Steps
Take the Lesson 5 quiz, then you can move on to Lesson 6.
Return to Overview Page.
